
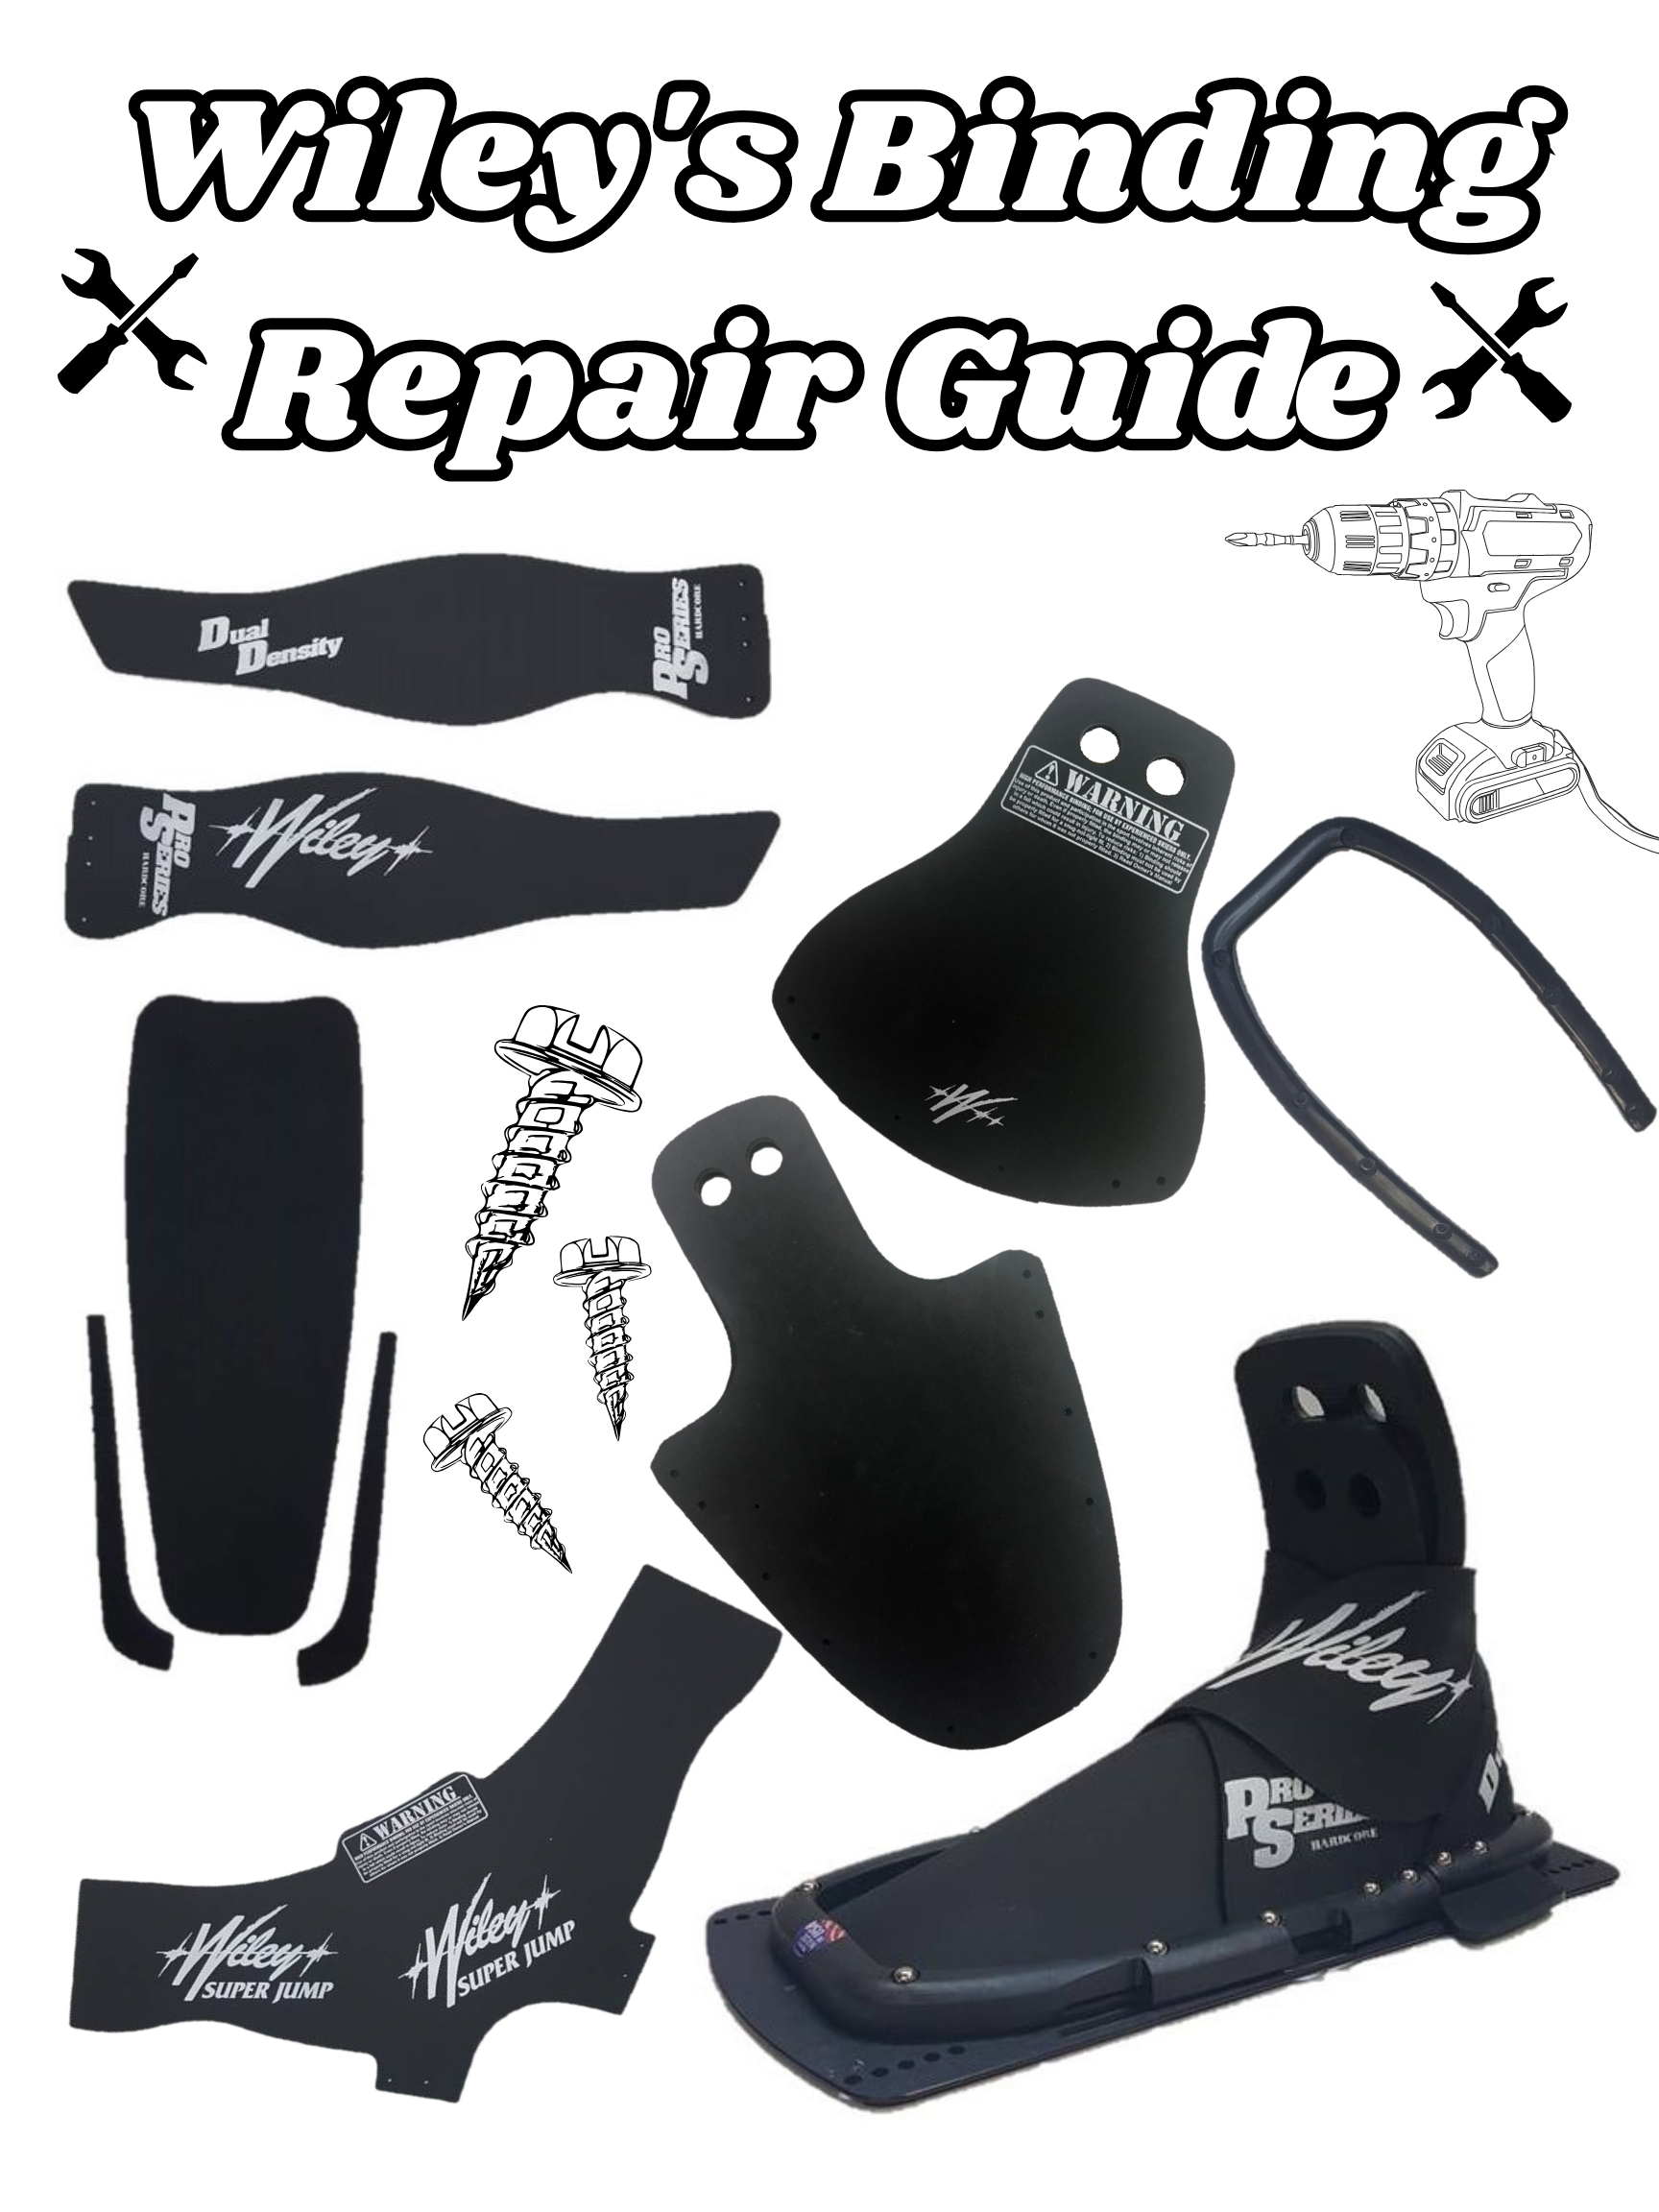
Wiley's Binding Repair Guide
Mar 13th 2026
A guide to help you with common repairs for your well-loved and worn out Wiley bindings.
To preface this binding repair guide, it is important to note that none of these repairs are "easy", some are just easier than others. The Wiley's team is happy to help with any of these repairs. We can answer questions, make clarification to the guide below, or complete your repair for you. If you are looking for guide.
Binding adjustments that are made by any non-Wiley's employee will nullify any warranty, and parts damaged in the process are non-refundable.
Please call at (206) 762-1300 or email at sales@wileyski.com with any questions.
Two Piece Overlay Replacement:
Overlays on your binding will likely wear out faster than other parts of your binding. These are one of the easier parts to replace, and understanding this process is important because it is a mandatory step in the replacement of any other binding parts such as toe/heel rubber. Gather your tools first: A good drill is mandatory. A clamp or small vice can help hold your hardware in place but is not madatory.
- From the bottom of the plate, unscrew the four screws on each side of the front horseshoe hardware so that the capnut comes out of the hardware. Leave the screws in the plate as they will hold the rubber in place. Leave the two front screws and capnuts in place.
- Lift the horseshoe hardware up from the back and pull the overlay out from under the horseshoe.
- Repeat steps 1-2 for the two screws on each side of the heel horseshoe. Your overlays should be fully removed now.
- With your new overlays, place the wide end of the overlay over the screws under the front horseshoe hardware.
- Replace the capnuts, and drill the screw into the capnut through the hardware.
- Wrap the overlays over the top of the toe rubber so that they cross with the screened Wiley logo on the outside.
- Wrap the overlays around the heel so that the screen is on the outside.
- Pull the thin end of the overlay under the heel horseshoe to your desired tightness. Because there are no holes that correspond to sizes it is important to remember how far your previous overlays were pulled.
-
- Punching screws through overlay material can cause tearing. To prevent this we recommend using a neoprene-safe lubricant to reduce friction from the screw as it goes through the overlay OR pre-punching holes in the overlay where the screw will go.
9. Replace the capnuts, and drill the screw into the capnut through the hardware.
One-Piece Overlay Replacement:
CBOs, Super Jumps, Trickwraps, and Low Wrap bindings have one piece overlays. This repair is similar to two-piece overlays but is slightly more difficult. Gather your tools first: A good drill is mandatory. A clamp or small vice can help hold your hardware in place but is not madatory.
- From the bottom of the plate, unscrew the four screws on each side of the front horseshoe hardware so that the capnut comes out of the hardware. Leave the screws in the plate as they will hold the toe rubber in place. Leave the two front screws and capnuts in place.
- Lift the horseshoe hardware up from the back and pull the overlay out from under the horseshoe.
- Fully remove the capnuts from the heel horseshoe but leave the screws in place. Lift the heel horseshoe from your binding. Your old overlay should now be removed.
- Place the new overlay over the side screws for your heel rubber. Replace the heel horseshoe and capnuts and drill the screws into the capnuts.
- Wrap the overlay over the toe rubber so that the overlay overlaps itself with the screen on the outside. (CBOs and Low Wraps do not have screens).
- Pull the end of the overlay under the front horseshoe to your desired tightness. Because there are no holes that correspond to sizes it is important to remember how far your previous overlays were pulled.
- Punching screws through overlay material can cause tearing. To prevent this we recommend using a neoprene-safe lubricant to reduce friction from the screw as it goes through the overlay OR pre-punching holes in the overlay where the screw will go.
- Replace the capnuts, and drill the screw into the capnut through the hardware.
Toe Rubber Replacement
The pull tab on your toe rubber is the next most common repair behind overlay replacements. The front pull tabs can rip after years of pulling, and this makes it much more difficult to get into your already difficult-to-put-on bindings. For this repair you will need a good drill, and a clamp may be helpful but is not required.
- Start by removing all ten screws from the capnuts in the front horseshoe hardware.
- Remove the hardware, screws, and capnuts and your toe rubber and one end of your overlays should be free. (Make sure that you note which holes the screws were in, placing the screws back in the wrong hole will change the fit).
- Place your new toe rubber over the footbed and line the holes on the toe rubber up with the holes on the plate where the screws will go.
- Replace the screws.
- For one piece overlays, follow steps 5-7 in the corresponding guide above. You should not need to punch new holes unless you are also replacing your overlays. For two piece overlays, follow steps 4-6 in the corresponding guide above.
- Replace any capnuts in the horseshoe hardware that have not already been replaced, and you are finished.
Heel Rubber Replacement
Just like your toe rubber, the heel pull tabs often tear after a many uses. Replacing the heel rubber is the most difficult of the repairs that you may need to do, so be prepared for a bit of a hassle, especially if it is your first rodeo. For this repair you will need a good drill and a clamp will be extremely helpful for this repair.
- Start by removing all six screws from the capnuts in your heel horseshoe hardware.
- Remove the hardware, screws, and capnuts and your heel rubber and one end of your overlays should be free. (Make sure that you note which holes the screws were in, placing the screws in the wrong hole will change the fit of your binding) For removing one piece overlays follow steps 1-3 in the correspond guide.
- Place your new heel rubber over the footbed and line the holes on the heel rubber up with the holes on the plate where the screws will go.
- Replace the screws.
- Part of what makes heel rubbers so difficult to replace is keeping the rubber, overlay, and horseshoe hardware in place on the 3/4" screw.
- What we recommend is to put a longer screw (1.5") through the bottom of your plate to hold the overlay and hardware in place while you secure the hardware.
- You can place a washer and wingnut on this long screw and tighten the wingnut so that you can clamp the hardware down to avoid having to hold it in place with your hand.
- Once the screws are in place (including the long screw if you are using it), pull your overlay and line up the existing holes over the screws. If you are replacing overlays also, see the guides above.
- Place the heel hardware over the screws on top of the heel rubber and overlay and drill the screw into the capnuts. Remove the long screws once the 3/4" screws are secure in their capnuts, and replace with the 3/4" screw.
The Wiley's team is happy to help with any of these repairs. We can answer questions, clarify the above instructions, or complete your repair for you. Just give us a call at (206) 762-1300 or email us at sales@wileyski.com. Once again, it is important to note that binding adjustments that are made by any non-Wiley's employee will nullify any warranty, and parts damaged in the process are non-refundable.